A good flight plan saves time on site and guarantees the deliverable meets specification. A poor one leads to a return visit, and a return visit costs double.
Start from the deliverable
What is being produced. An orthomosaic, a three-dimensional model, inspection imagery or video. Each demands a different flying style.
Required accuracy. Determines altitude and whether ground control is needed.
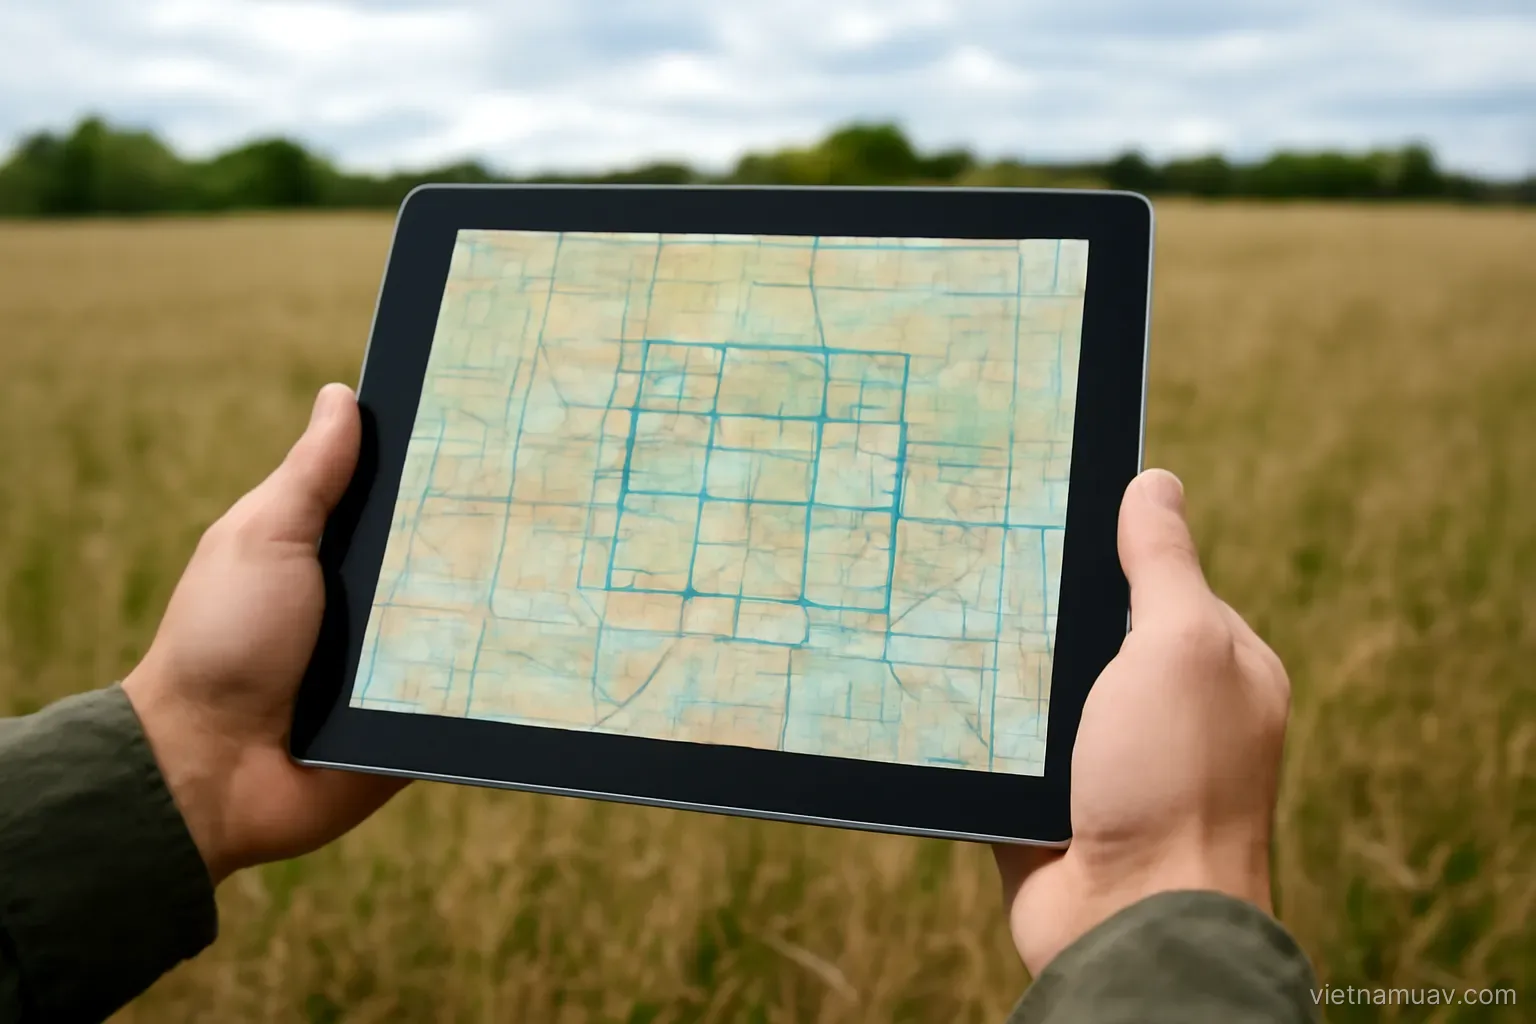
Exact boundary. Drawn on a map before travelling, not decided while standing in the field.
Delivery deadline. Influences the trade between fewer images processed quickly and more images processed thoroughly.
Specific constraints. Areas that must not be overflown, times when flying is not permitted, landowner conditions.
Who will use the output. An engineer, a contractor and a landowner each need something different from the same flight.
Whether it repeats. A survey that will be flown again should be designed for repeatability from the outset.
The common mistake. Opening the planning software and drawing a grid before any of this is settled. Without clear requirements every plan is potentially wrong.
Confirm with the client. Read the requirements back before mobilising. A misunderstanding found now costs a phone call rather than a day.
The calculations
Altitude. Derived from required ground resolution, lens focal length and sensor pixel size. Software calculates it, but understanding it lets you sanity-check the answer.
Footprint per image. From altitude and field of view.
Image spacing along track. From the forward overlap requirement.
Track spacing. From side overlap.
Ground speed. Slow enough that images are not smeared at the shutter speed in use. This constraint is regularly ignored.
How to check blur. Ground speed multiplied by exposure time gives the distance travelled during capture. Converted to pixels, it must be under one.
Total image count. From area and overlap. It also tells you the processing time to expect.
Flight time. Total track length divided by speed, plus turns, climb and descent.
Sense-check the total. If the plan implies eleven batteries and four hours on site, that is worth knowing before leaving rather than discovering at midday.
Splitting into sorties
Battery limit. No single sortie exceeds usable endurance, with reserve.
Reserve. At least twenty per cent. Wind stronger than forecast is routine.
Divide by area. Each sortie covering a block. Planning software normally handles the split.
Overlap between sorties. Necessary for the blocks to join during processing. Without it there is a seam that will not reconstruct.
Keep conditions consistent. Fly all sorties within a short window under similar light.
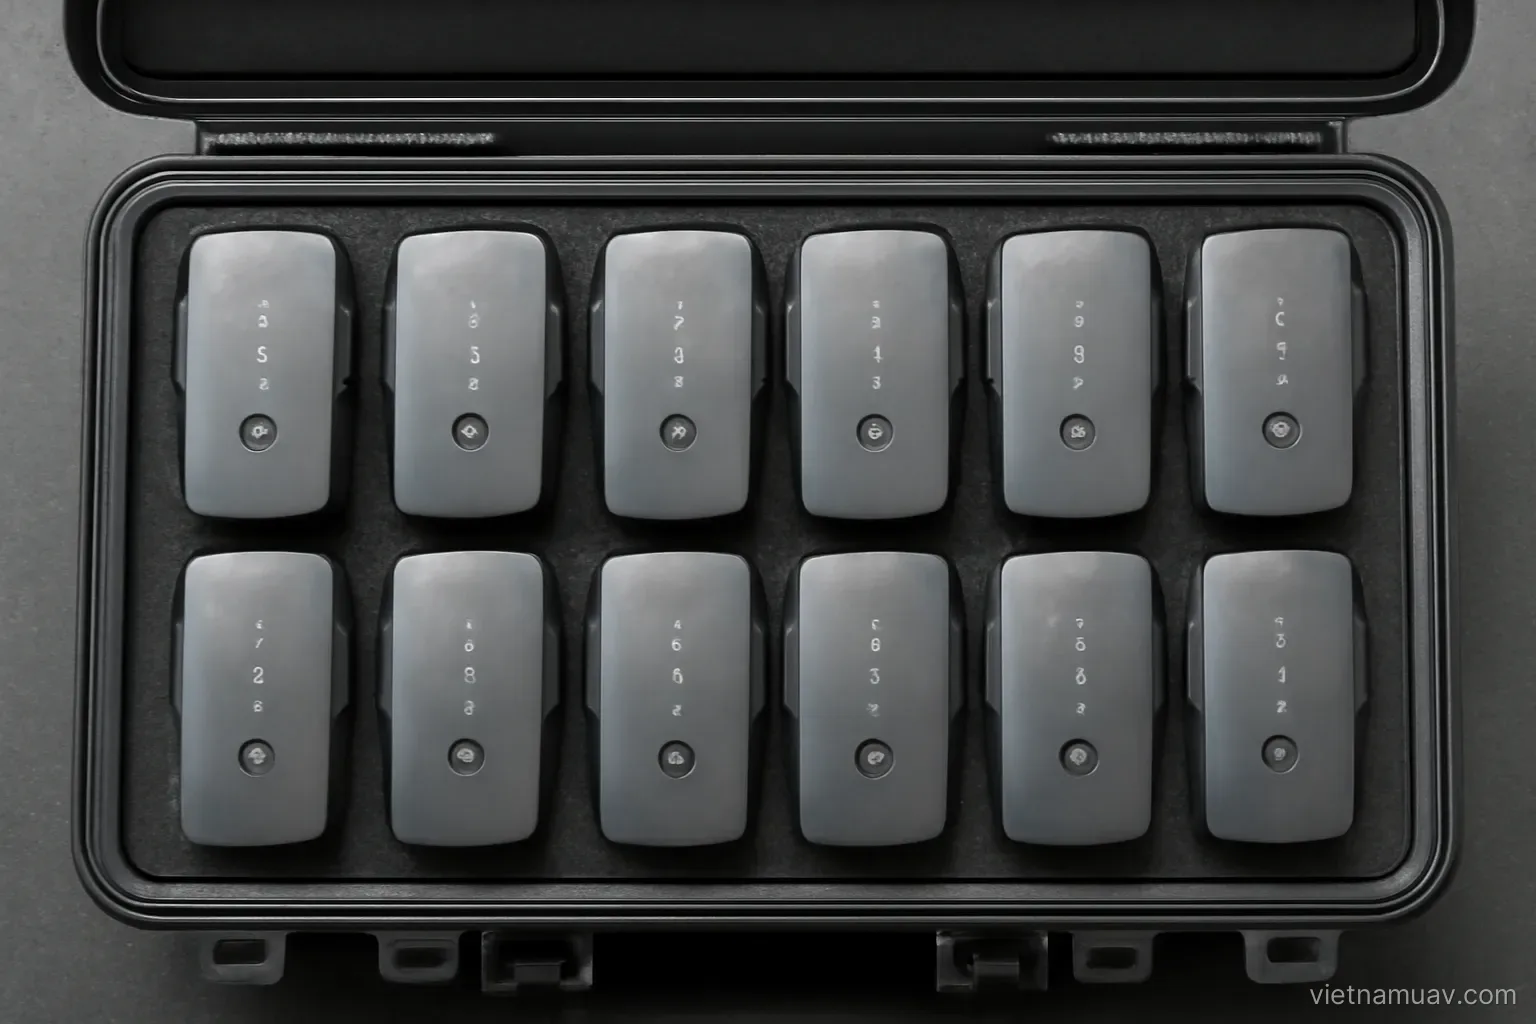
Fast battery changes. Packs charged, ordered and accessible. Changeover time accumulates significantly over eight sorties.
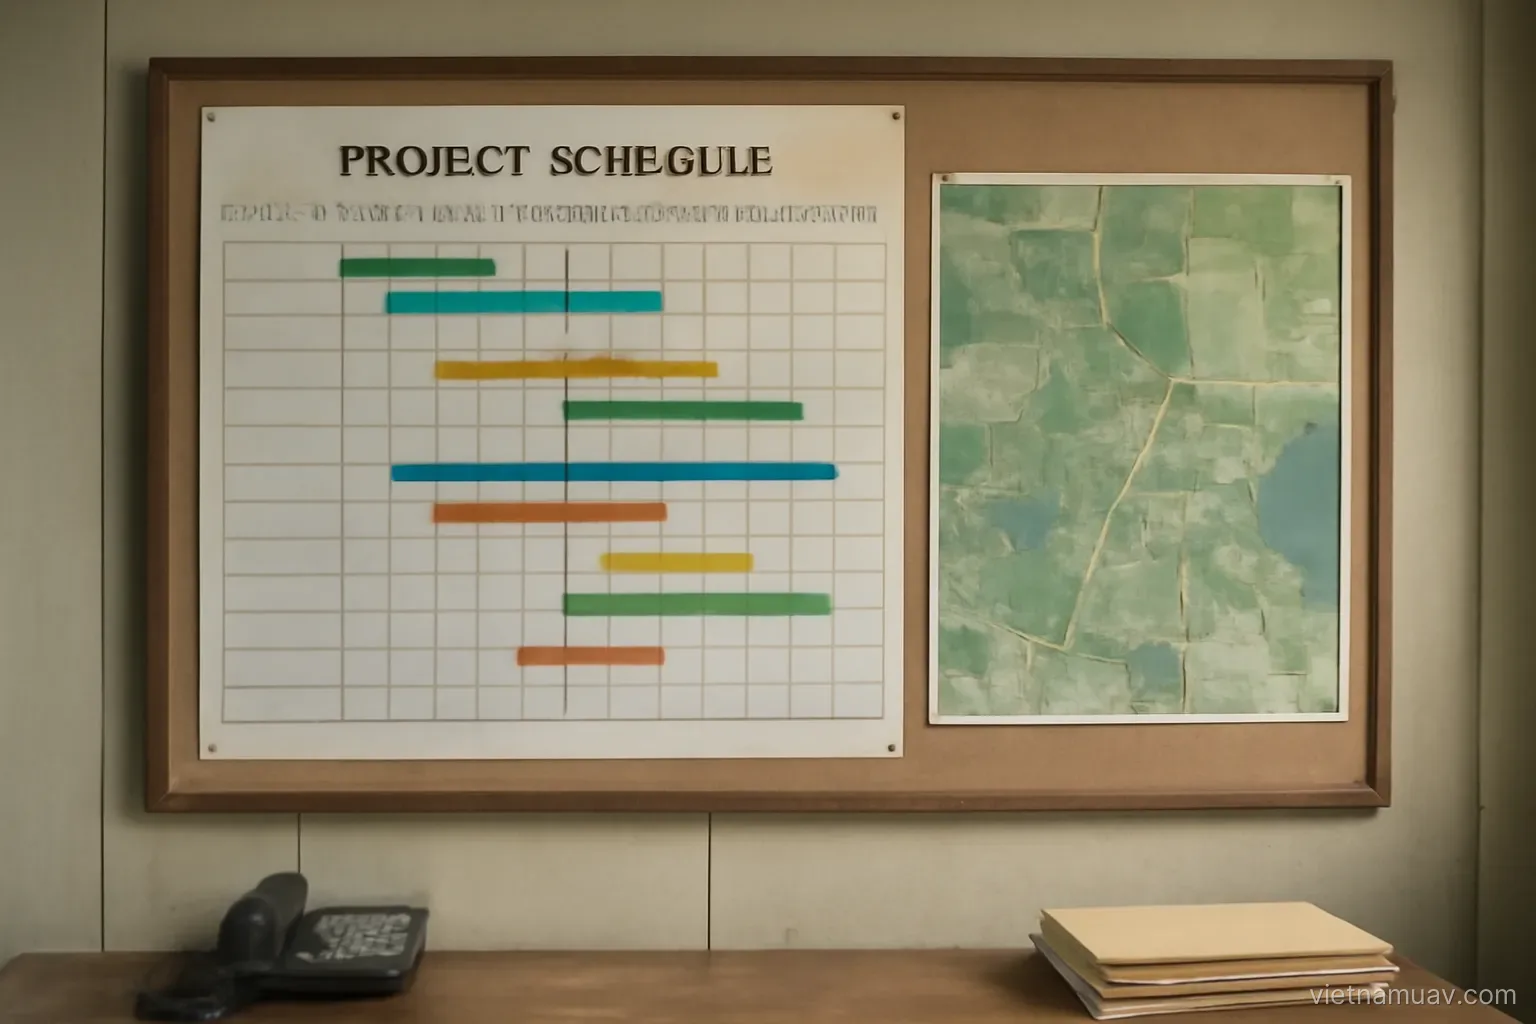
Track what has been flown. Easy to lose count. Mark the plan as you go.
Check after each sortie. Image count against expectation. Catching a gap now means reflying immediately.
Plan the order deliberately. Fly the most important block first, so that if weather closes in you still have the essential coverage.
Terrain and obstacles
Sloping ground. Flying at fixed altitude above the launch point gives uneven resolution — fine on high ground, coarse in the valley.
Terrain following. The aircraft adjusts height using an elevation model, keeping resolution consistent.
Elevation data quality. Determines how safe terrain following actually is. Coarse or outdated data is a hazard rather than a help.
Without terrain following. Divide the area into elevation bands and fly each at a different altitude.
Tall obstacles. Masts, towers, isolated trees. Mark them and ensure flight lines clear them.
Power lines. The most dangerous because they are hard to see. Survey thoroughly, including by asking local people.
Satellite imagery is not current. It may be years old, and new obstacles will not appear on it.
Walk it where possible. For unfamiliar or complex sites, look at it directly before flying.
Set a hard floor as well as a ceiling. On terrain-following missions a data error can command a descent into the ground; a minimum altitude limit prevents that.
Preparing the site
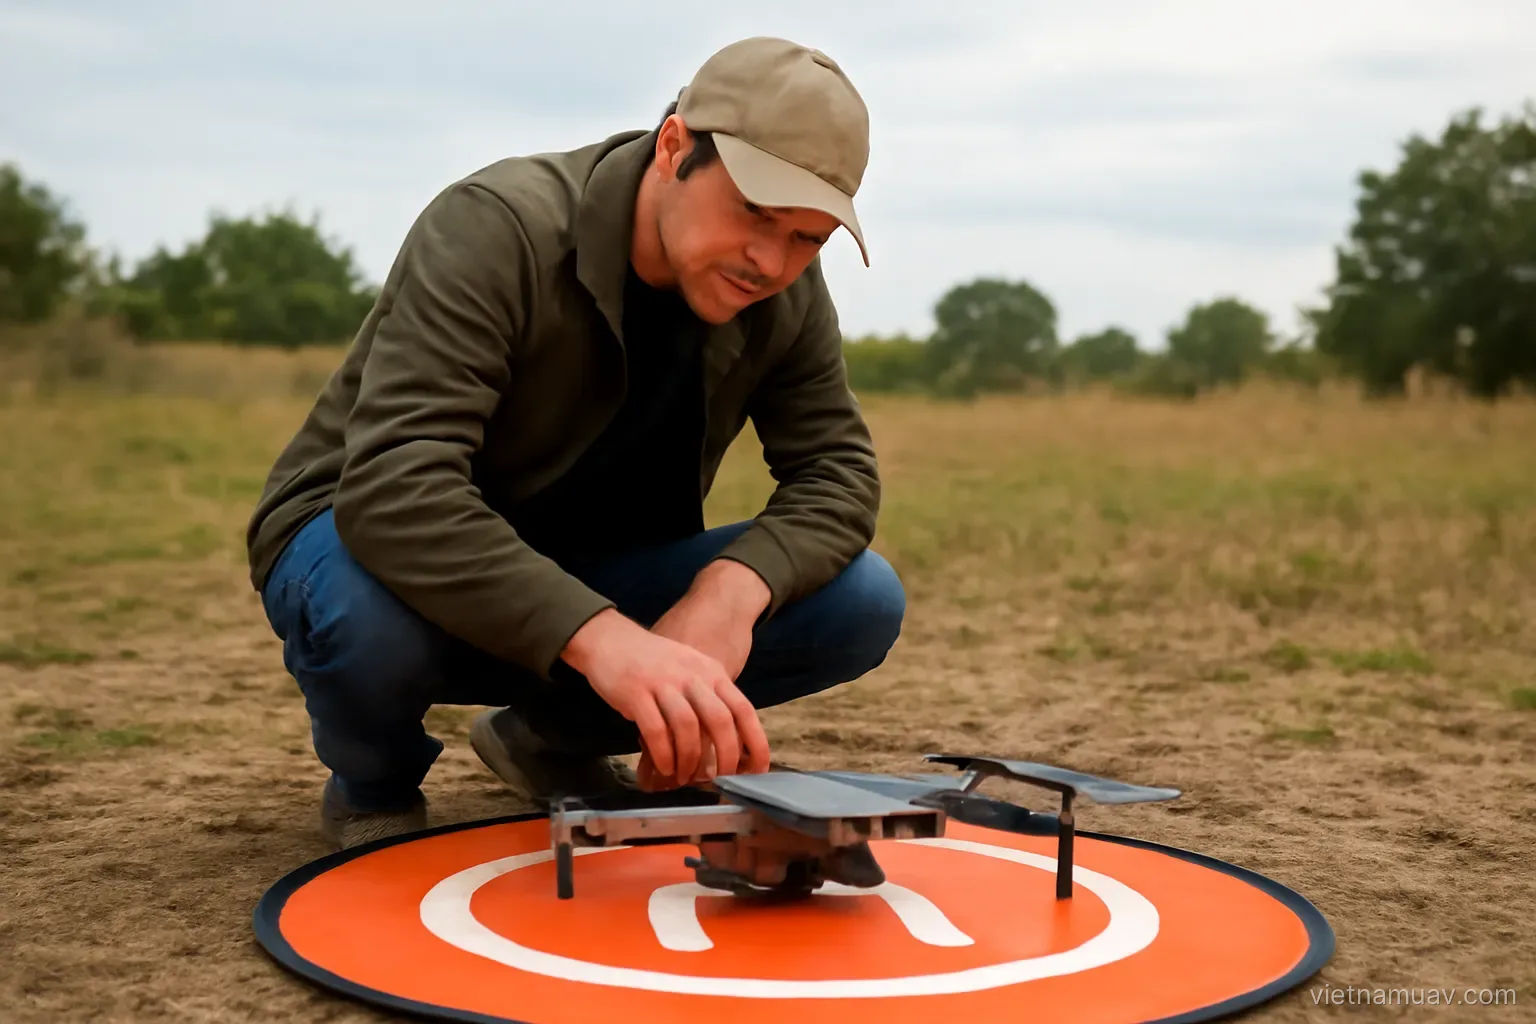
Launch and recovery point. Level, clear, free of loose material, with good sightlines to the working area.
Operator position. Good signal, clear view of the aircraft, safe underfoot.
Link range. Check the maximum working distance and whether terrain will block it. A hill between operator and aircraft ends the link.
Relocation. Large sites may require moving position between sorties. Plan where.
Ground control. If required, plan target positions and survey timing in advance.
Realistic time estimate. Including setup, travel, battery changes and checks. Usually about double the pure flight time.
Contingency. For bad weather, equipment failure, or permission not being granted.
Packing list. Checked before departure. A single missing item can waste a long journey.
Local contact. Somebody who knows the ground and can open gates. It saves more time than any piece of equipment.
Frequently asked questions
Which constraint on ground speed is most often ignored?
Motion blur. Ground speed multiplied by exposure time gives the distance travelled during capture, and converted to pixels it must stay under one.
Why must sorties overlap each other?
Because without overlap the separate blocks will not join during processing, leaving a seam that fails to reconstruct.
What goes wrong when flying sloping terrain at fixed altitude?
Ground resolution becomes uneven — fine over high ground and coarse in the valley. Terrain following or flying separate elevation bands solves it.
How should total time on site be estimated?
About double the pure flight time, since setup, travel, battery changes, ground control and data checks all add up substantially.
More in Operations and safety and Survey and mapping.